Ubuntu 22, installing the email server

It is a fast and complete guide to installing an email server using Ubuntu 22 but it should work too with Ubuntu 16 and higher.
Installing postfix
Postfix is our tool that does the heavy-lifting. It will also install other services. What postfix does in the background is overly complex but we will only touch the surface of it.
apt install postfix
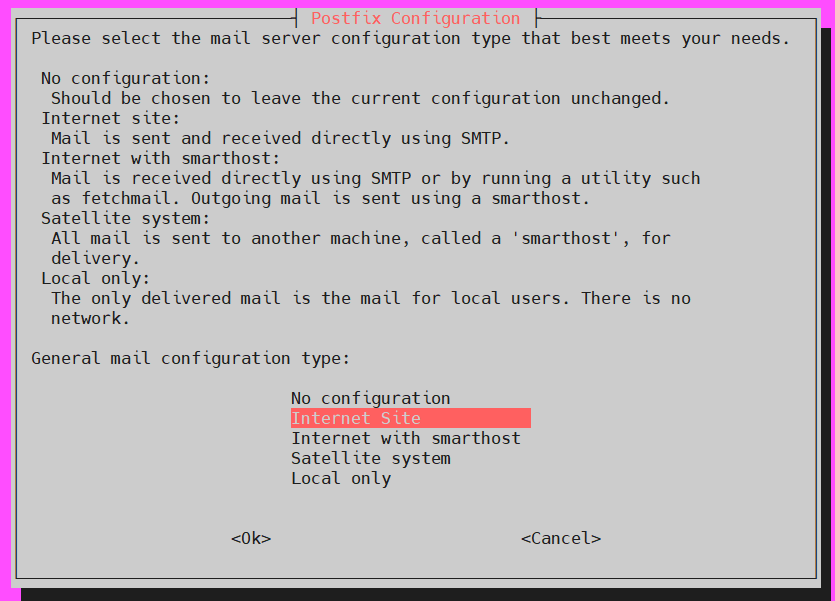
It will show the next screens:
- Internet sites:
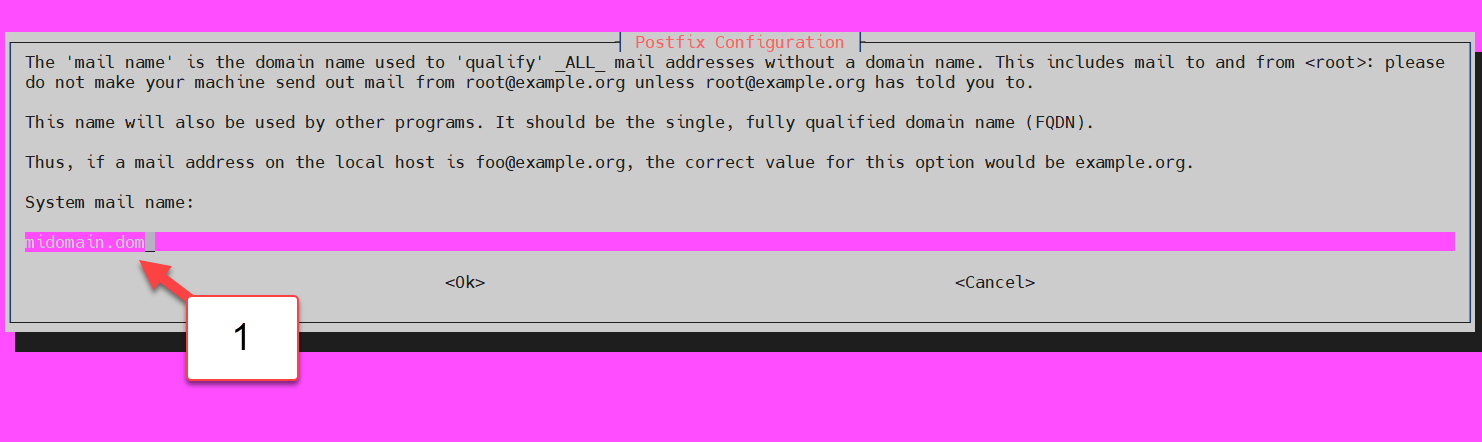
- select your domain. If you want a domain called john@domain.dom, then pick:
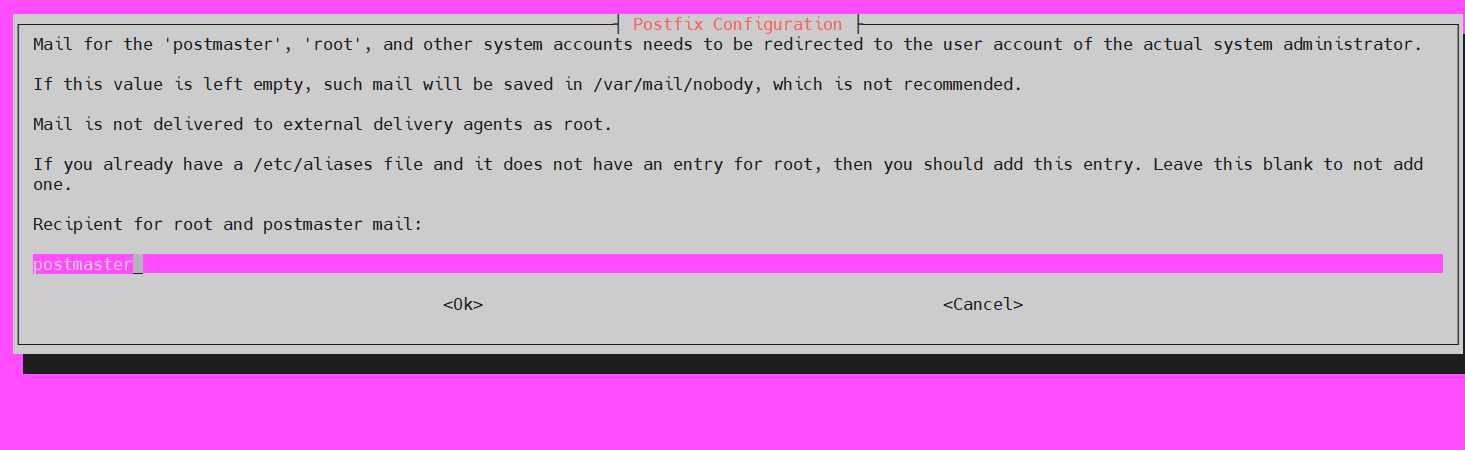
- The postmaster (you can pick whatever you want to)
- And you can pick other domains

- Force sync? No

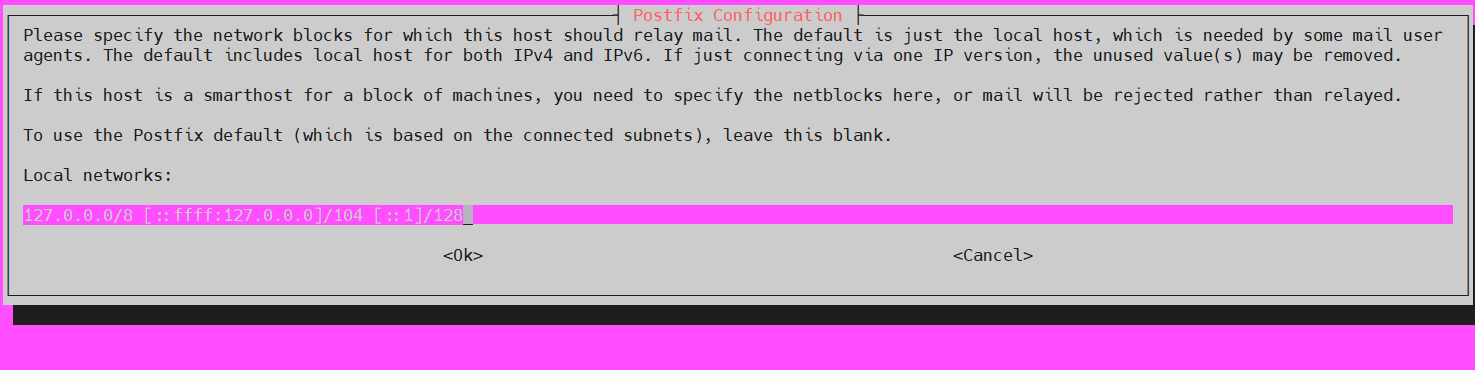
- Relay IP. Does not change it.
- Mailbox size, you can set the file that you want to or zero for unlimited.

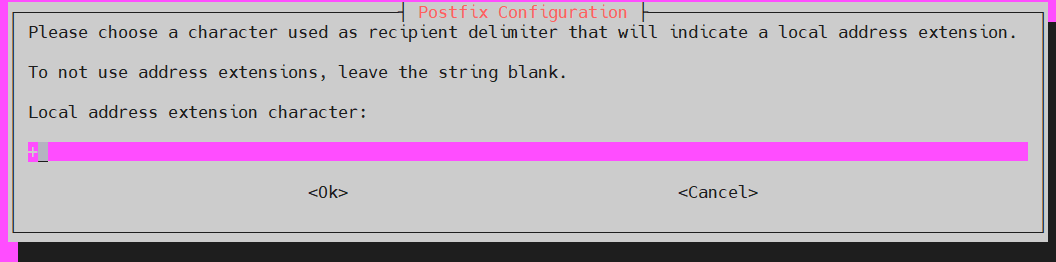
- Delimiter. Set this values as default
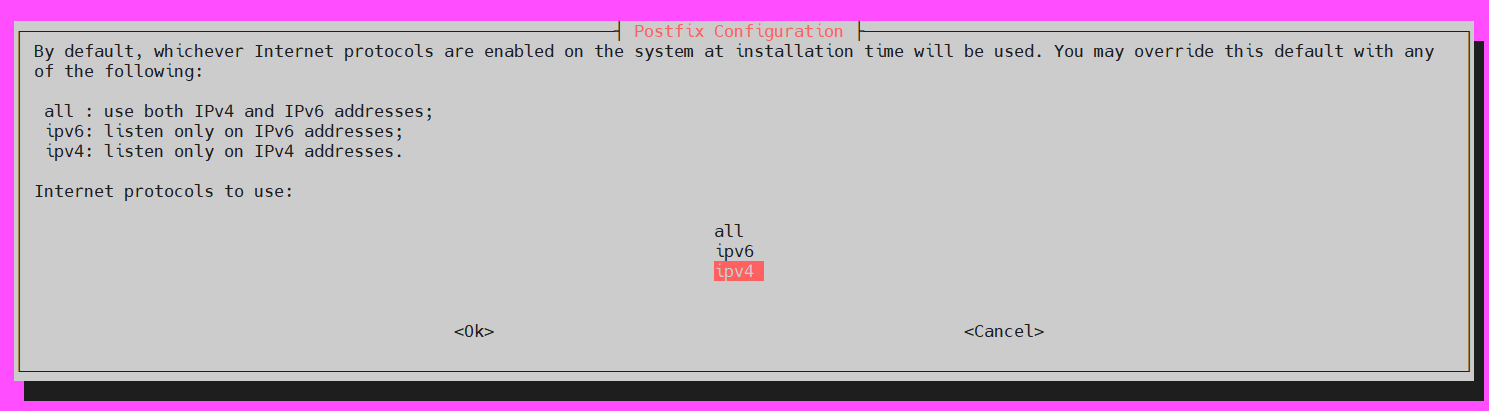
- Internet protocol. Usually "all" works but if you have troubles, then change it for "IPV4"
And reload the service
systemctl reload postfix
You can re-configure the system using the next command (or you could edit the configuration file manually)
sudo dpkg-reconfigure postfix
Editing Postfix
Indicates the mail folder:
postconf -e 'home_mailbox= Maildir/'
And restart postfix.
sudo systemctl restart postfix
In the folder /etc/postfix, you could find many files. There are two important files, one is main.cnf and master.cnf.
Firewall
You must allow the services to pass the firewall.
sudo ufw allow Postfix
If you want to receive emails, then you must open the port TCP/IP 25 from your firewall.
Note: If you are using AWS, then you must ask permission to Amazon (and open the firewall), otherwise it will not work. And as far as I know, Azure put the same restrictions. Many cloud providers could put their own restrictions, some simply deny the use of the port 25.
Most home connections block the port 25.
How to test if the port is open?
In a different machine, runs the next command:
telnet <external-ip> 25
If you are using Windows, then you can use Putty (a free program) and try to do telnet using port 25.
Create the mail folders
Log in with the user and run the next command
mkdir ~/Maildir
mkdir -p ~/Maildir/{cur,new,tmp}
chown -R USERNAME:USERNAME ~Maildir
Where username is your username
Installing a client
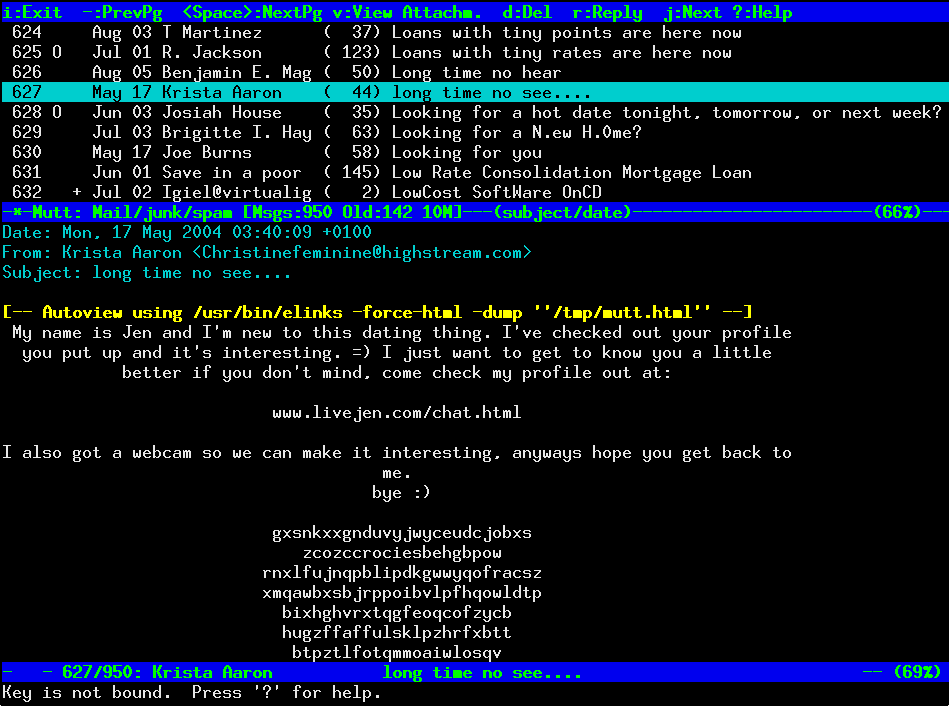
To install a client compatible with postfix, you can use Mutt.
yum install mutt
There are many clients but it is easy and minimalist.
The other popular client is s-nail but it is less intuitive.
Sends an email using mutt
Note: You must configure the DNS before you want to send email. It could work locally but it is better to test it with the DNS up and running.
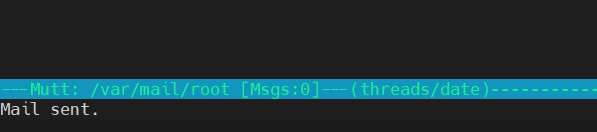
Open mutt
mutt
And select "m" (mail)
Fill in the information in the email. And finally, send it "y"
Sends an email using the cli
You can send an email using the next command.
echo "body" | mail -s "title" <your email>
Configuring the DNS
How do you know that it is working?
You can check the log at:
cat /var/log/mail.log
DNS
Finally, you will need to configure your DNS.
Go to the DNS configuration and enter the next information:
type | name | content | priority |
MX | <your domain> | <your domain> | 10 |
TXT | _dmarc | v=DMARC1; p=none; rua=mailto:sender@<domain> | |
TXT | <your domain> | v=spf1 ip4:<your IP> ~all |
|
Change <domain> by your domain and <your IP> for the private IP of the server.
Note: Gmail did some changes to the SPF entries. It does not accept includes or domain names, only IPs.